NHẤP VÀO ĐÂY để xem các bước trước đó .....
Step 13
Select a group with a pearl, then click on the Make BMG button in the Mesh Tormentor panel.
Drag the received objects into the Brushes panel, then choose Scatter brush in the opened dialog box.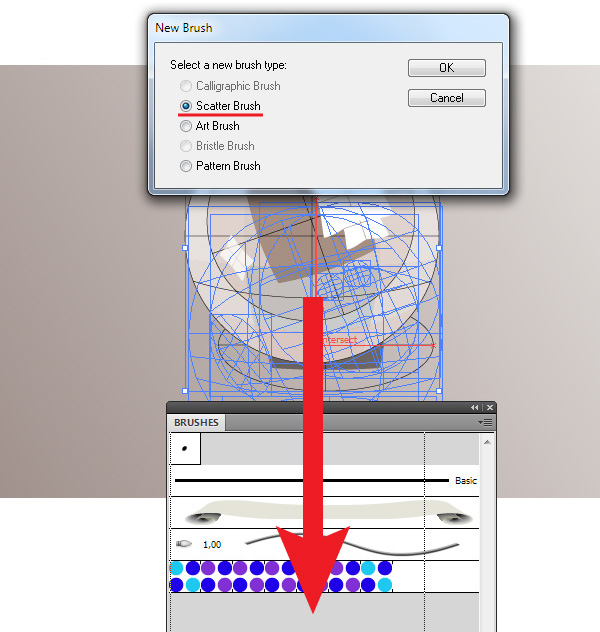
Step 14
Leave the brush’s parameters unchanged in the opened dialog box of Scatter Brush Options. We’ll work with parameters after our brush is created and applied.
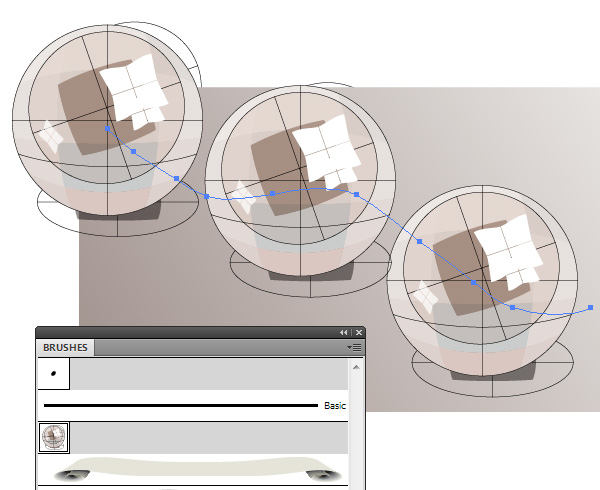
Step 15
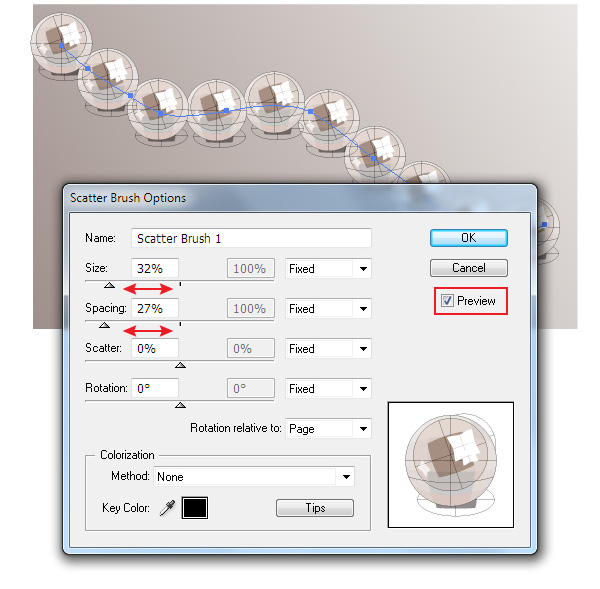
And now let’s specify the brush settings. To do so, click twice on the icon for this brush in the Brushes panel, which opens the dialog box with parameters. Check the Preview option to observe the current changes.
Step 16
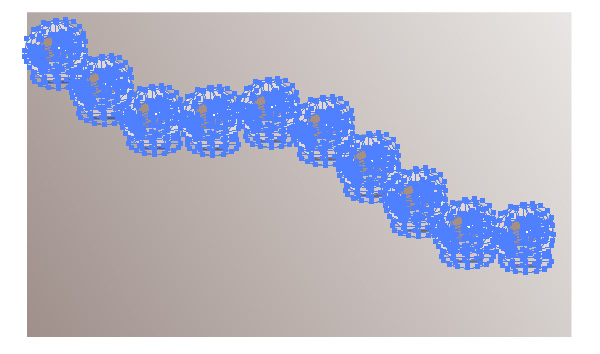
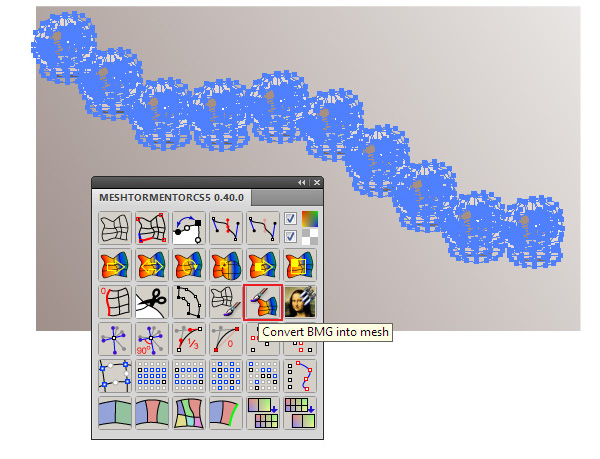
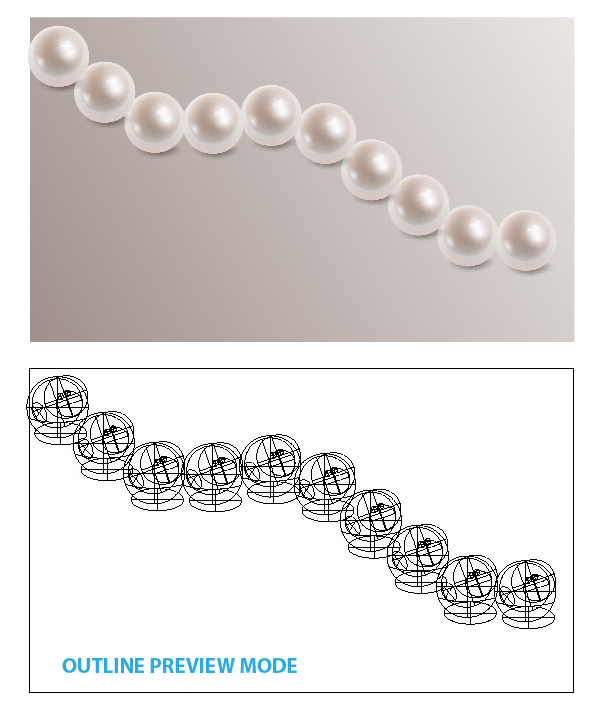
Click on the Convert BMG into mesh in the plug-in’s panel.
Step 17
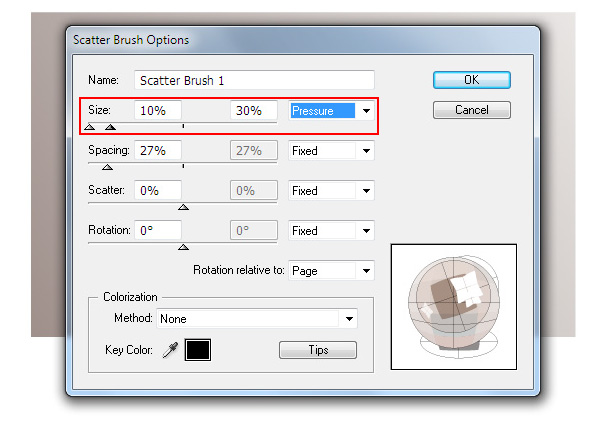
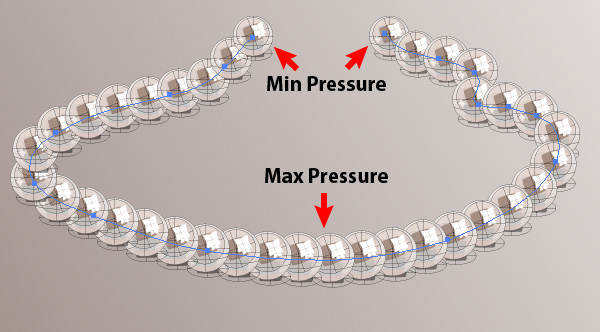
If in your work you use Graphic Tablet, then you can set the brush size to be determined by pressure. You also need to set a range for the size of your brush.
Step 18
After transformation of the brush stroke into a group of gradient meshes (Object> Expand Appearance, then click on Convert BMG button), we need to change the sequence of the pearls on the left part of the necklace so they’re perspective appears from front to back.


Step 19
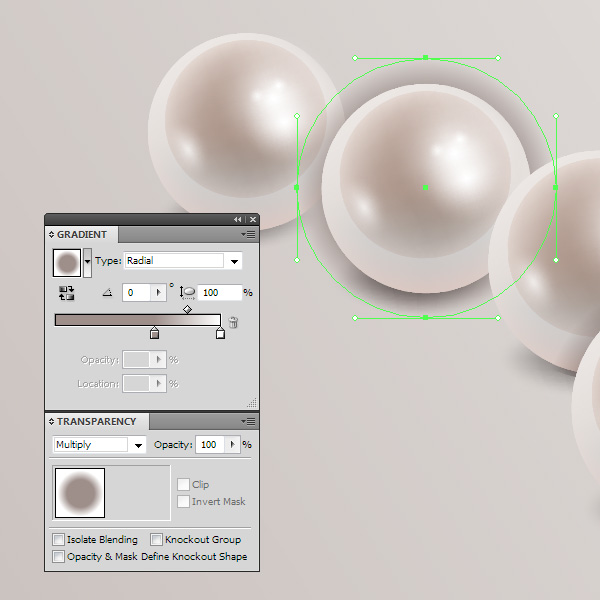
In additional to the drop shadow we added previously, we also need to add a shadow from the neighboring pearls to enhance the realism of the perspective. Create a circle with gradient mesh fill from brown to white. Apply the Multiply blending mode to it and place it on one of the pearls.
Step 20
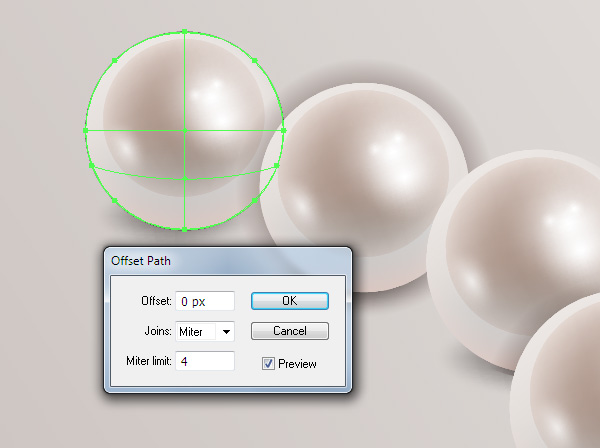
Now we need to hide parts of shadow which extends beyond the neighboring pearl. Select the gradient mesh which forms the shape of the neighboring pearl, then go to the Object > Path > Offset Path and set the offset value to 0 px.
Step 21
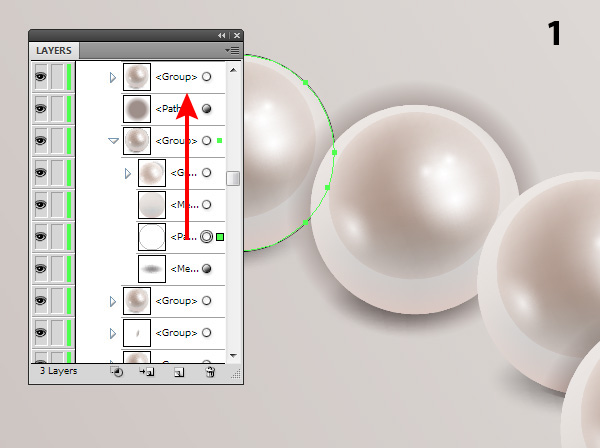
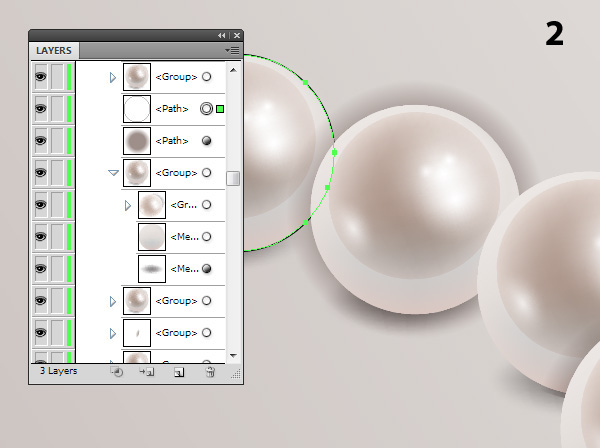
Move this path up from its current group to above the form of a shadow in the Layers panel.
Step 22
Select this path and a form of the shade and go to the Object > Clipping Mask > Make or use Cmd/Ctrl +7 shortcuts.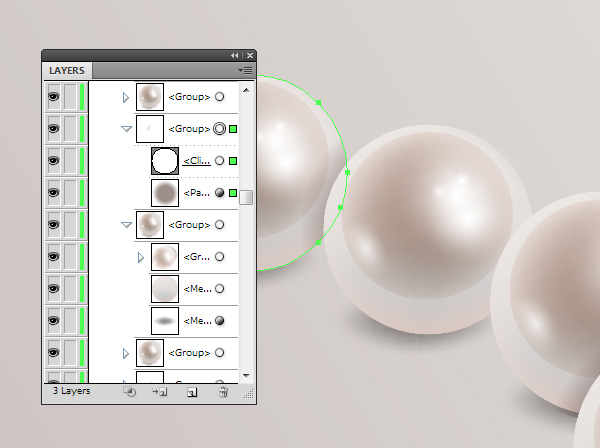

Nếu bạn có nhu cầu học khóa học Adobe illustrator (Ai) vui lòng NHẤP VÀO ĐÂY để xem chi tiết về khóa học hoặc NHẤP VÀO ĐÂY để gửi thắc mắc về khóa học của bạn cho chúng tôi.
