là một chương trình vẽ vector, thường được sử dụng để vẽ hình minh hoạ, hoạt hình, biểu đồ, đồ thị. Adobe Illustrator được dùng để thiết kế : như thiết kế những sản phẩm trong ngành thiết kế quảng cáo, thiết kế in ấn, thiết kế logo, thiết kế bản hiệu, thiết kế thời trang, thiết kế thiệp mời, Tạo các sản phẩm tờ rơi, Cataloge, Card Visit, Broucher, Profile,vẽ hoạt hình, tích hợp chuyển động cho Flash...Adobe Illustrator ưu diểm là dễ dàng thay đổi và trao đổi dữ liệu, kích thước file nhẹ, dễ dàng tương thích với Photoshop, Corel Draw, và hỗ trợ in ấn rất tốt.
Hôm nay, trung tâm TIN HỌC KEY xin giới thiệu đến các bạn một hệ thống bài tập thực hành vẽ các đối tượng trong Adobe illustrator (Ai) (phiên bản tiếng anh, theo: vectips.com) có hướng dẫn chi tiết các bước thực hiện cụ thể để các bạn dễ dàng thực hành theo. Hôm nay chúng ta sẽ học bài 22: How to Create aPearlBrush from Gradient Meshes in Adobe Illustrator . Hy vọng hệ thống bài học này sẽ mang lại cho bạn những kiến thức hữu ích trong quá trình bạn học Adobe illustrator (Ai).
Chúc các bạn thành công!
How to Create aPearlBrush from Gradient Meshes in Adobe Illustrator
Final Image
As always, this is the final image that we’ll be creating:

Step 1
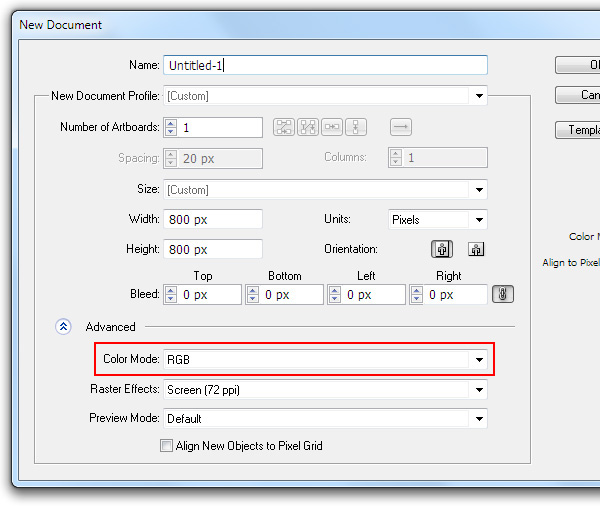
Open Adobe Illustrator and create a new document (File > New). In the dialog box, set the RGB color mode and the size of the artboard, which depend only on your personal preferences.
Step 2
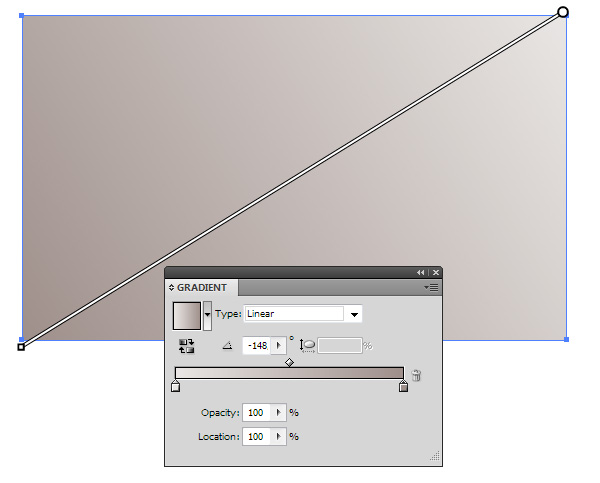
Take the Rectangle Tool (M) and create a rectangle with linear gradient fill. I used two colors for this gradient: R= 233; G = 230; B =228 and R= 158; G = 143; B =138.
Step 3
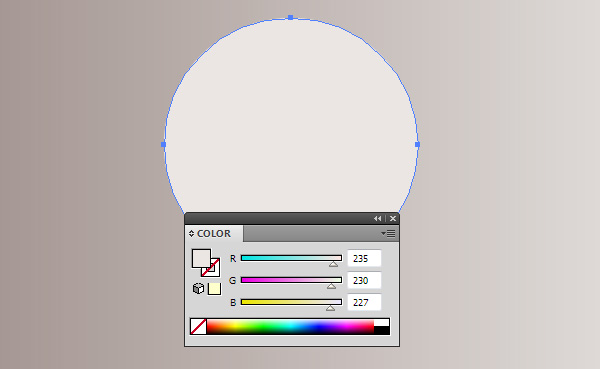
Let’s begin creating our pearl. Take the Ellipse Tool (L) and draw a circle with light-brown fill R= 235; G = 230; B =227.

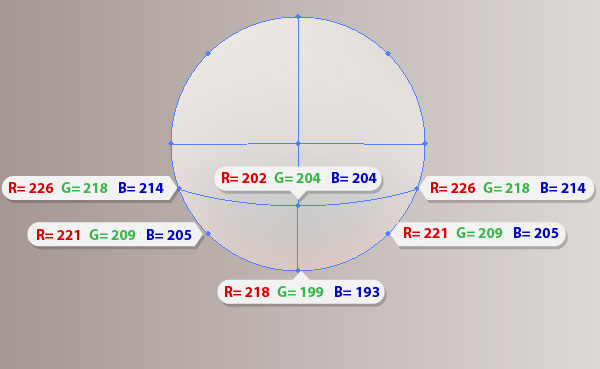
Step 4
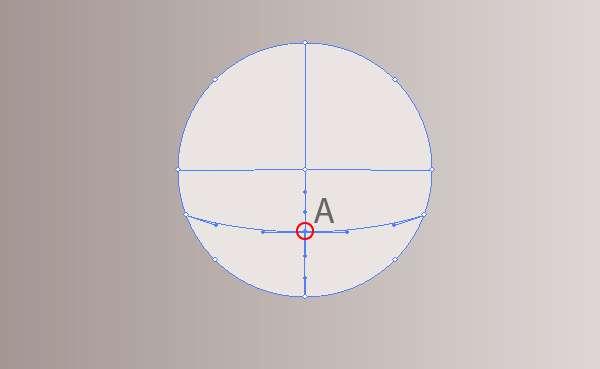
Take the Mesh Tool (U) and create a new mesh point by clicking on the point A.
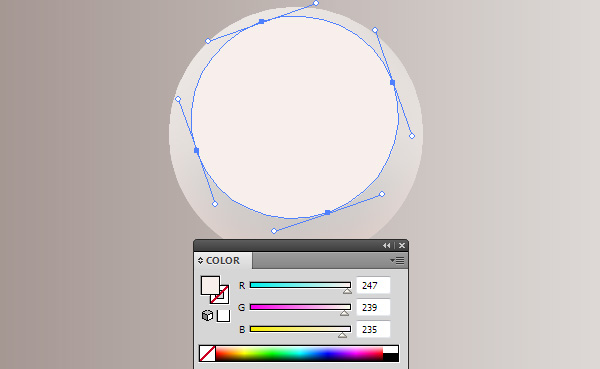
Step 5
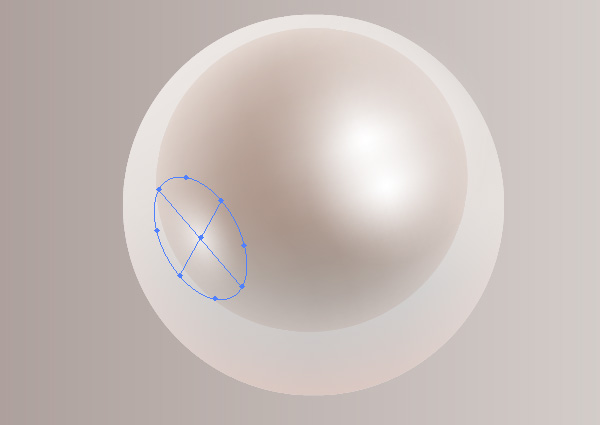
Create an ellipse with the color of fill R= 247; G = 239; B =235 with the help of the Ellipse Tool (L) and rotate it to some angle with the Selection Tool (V), as it is indicated on the figure below.
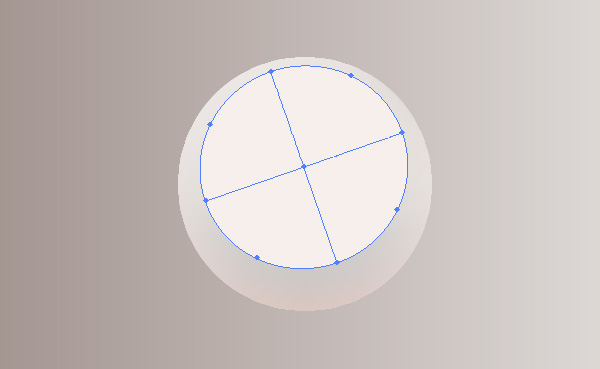
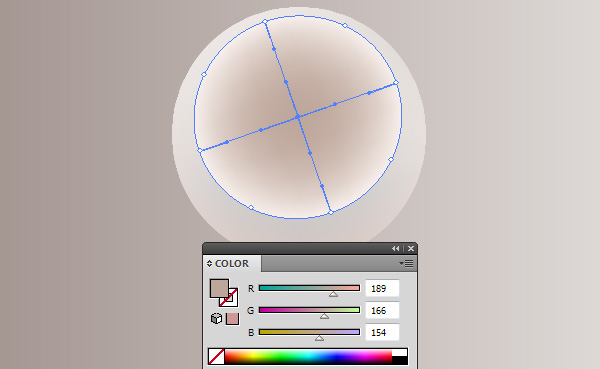
Step 6
Select and color the center point of the gradient mesh into brown R= 189; G = 166; B =154.
Step 7
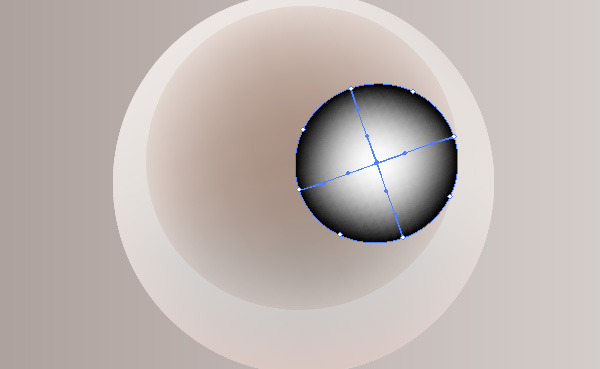
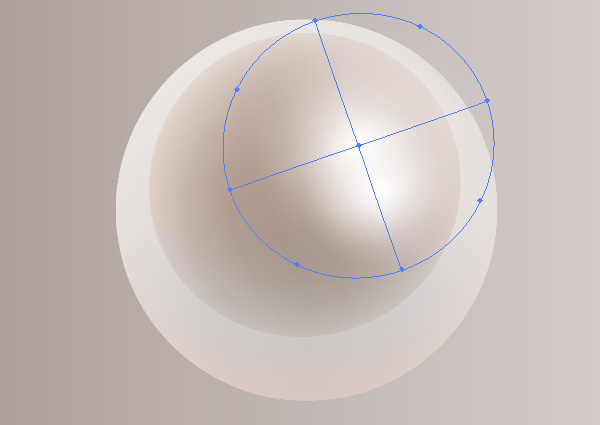
Let’s create some highlights on the surface of our pearl. Create one more gradient mesh in black (R= 0; G = 0; B =0) as an ellipse as we did in our previous steps. Color the center point of the gradient mesh white.
Step 8
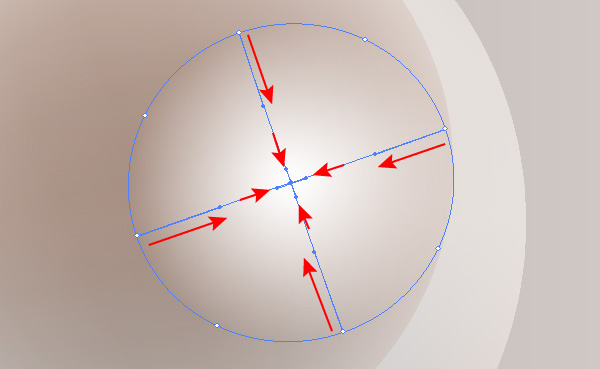
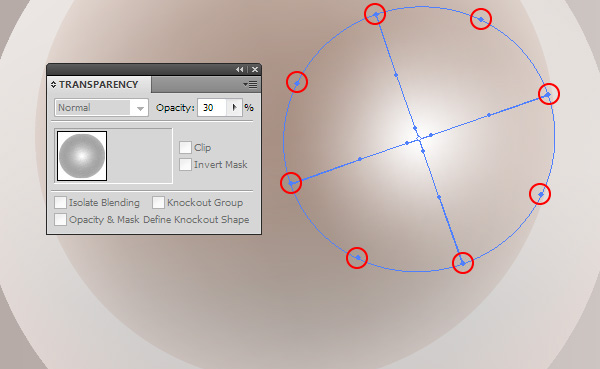
I don’t like the way transparency is spread from edges to the center of the object. So let’s see how we can control the transparency in gradient meshes. The distribution of color between adjacent mesh points depends on the length ratio of handles on their connecting mesh line, i.e. if I want to distribute some transparency to the center I need to reduce the handles of white point and increase the handles of black points on the outer edges of the object.

Step 9
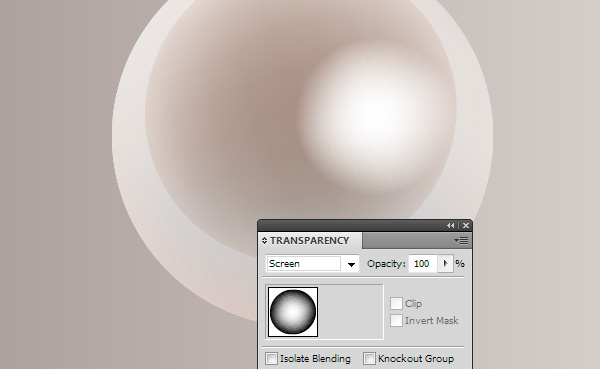
Select all the points which are located on the edges of the gradient mesh (the central point should remain unselected) and set 30% Opacity in theTransparency panel. Starting with Adobe Illustrator CS5, we can control the mesh point opacity.

Step 10
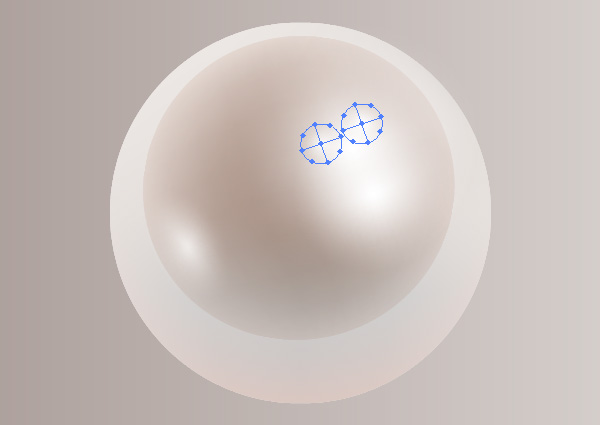
Using the described technique, let’s work on creation of some more highlights on the pearl. Its location is indicated on the figures below.
Step 11
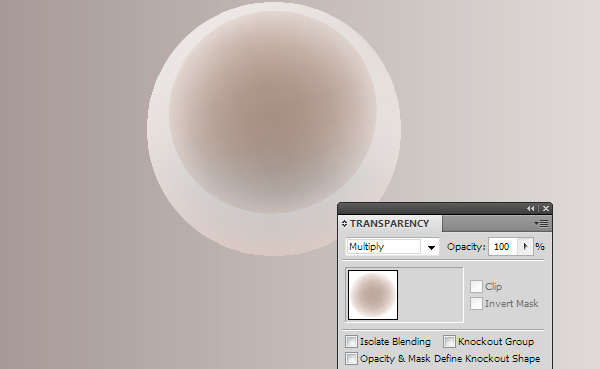
Now, let’s use the principles described above to create a drop shadow. The points that are located on the borders of gradient mesh are white and have 0% opacity. The central point is colored in grey R= 140; G = 140; B =140. The Multiply blending mode is applied to entire gradient mesh.

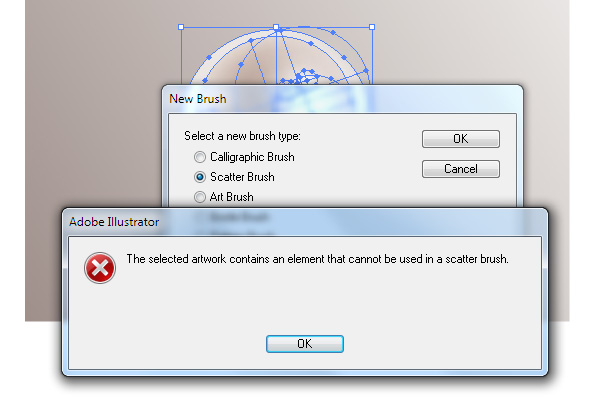
Step 12
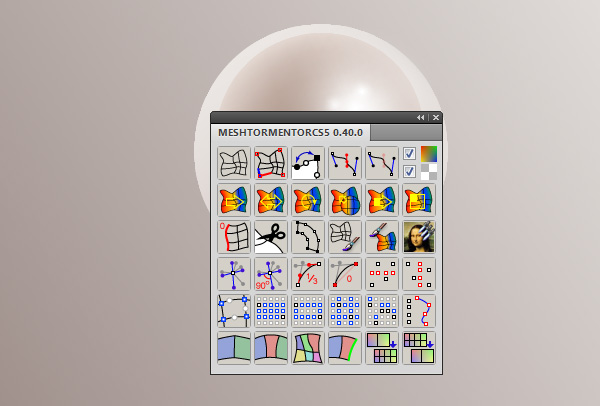
The pearl is ready, let’s group all its objects for our convenience (Cmd / Ctrl + G). Now we can create brushes from this group despite the fact that Illustrator’s brushes cannot contain gradient meshes.
NHẤP VÀO ĐÂY để xem các bước tiếp theo ......
TRUNG TÂM TIN HỌC KEY
ĐC: 203-205 Lê Trọng Tấn - Sơn Kỳ - Tân Phú - TP HCM
ĐT: (028) 22 152 521
Địa chỉ: 203 - 205 Lê Trọng Tấn, P. Sơn Kỳ, Q. Tân Phú, TP. HCM.
Điện thoại: (028) 22 152 521
Website: key.com.vn - Email: key@key.com.vn
Địa chỉ: 765-767A (Số mới: 558-560A) Nguyễn Ảnh Thủ, P. Tân Chánh Hiệp, Q. 12, TP. HCM.
Điện thoại: (028) 2242 2244
Website: key.com.vn - Email: key@key.com.vn